How To Design Your Labels?
Designing your labels can be a creative and cost-effective way to label your products or items. Whether you’re a small business owner a hobbyist or just looking to add a personal touch to your belongings designing your labels can be a fun and rewarding experience.
In this guide, we will explore the various steps involved in designing your labels including choosing the right materials determining the best size and shape for your label selecting colors and graphics and finally printing your design.
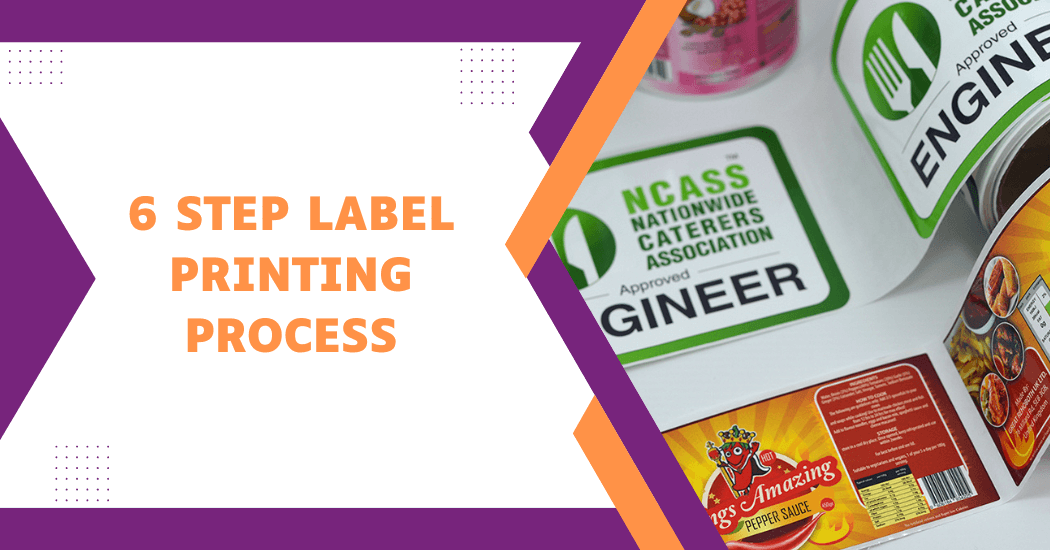
6 Step Label Printing Process
Here are some things to think about before you get started on your label design:
1) Label size and shape
Custom Labels come in all shapes and sizes from small rectangular stickers to large oval labels. Think about how you want the label to look and how much space you have available to work with. Consider if the label needs to fit into a specific area such as a bottle or container and measure it out before making your final decision.
2) Choose the right material
The type of material you choose for your labels will depend on where they’ll be used. When labeling items that will be put in the fridge or freezer choose a material that won’t warp or degrade when exposed to extreme temperatures. For items like candles or soap consider using waterproof labels so they can stand up to moisture.
3) Gather necessary equipment and supplies
Before you start designing your labels it’s important to make sure you have all the necessary equipment and supplies. For example, if you’re using a computer to design your labels make sure you have the correct software installed or that you can access it from a web browser.
If you plan on printing your labels at home double-check that your printer is compatible with the type of paper or material you’re using.
4) Concept Development
There are three steps to concept development:
- Generate ideas and sketches: Start by brainstorming concepts and ideas and then sketch them out on paper. Think about what you want your label to look like and how it should be laid out.
- Refine the concept: Once you have some good ideas refine them by making tweaks and edits until it looks exactly how you want them to look. Consider adding small details or graphics to make your label stand out.
- Choose colors, typography and imagery: The last step in concept development is to choose colors typography and imagery. When it comes to colors think about what will look best with the product or item you’re labeling. For typography experiment with different fonts and font sizes until you find one that fits your label perfectly.
5) Design Implementation
Here are the steps to design implementation:
- Use graphic design software: If you plan on designing your labels on a computer make sure to use graphic design software such as Adobe Photoshop or Illustrator. Not only will this make it easier for you to design your labels but it will also ensure that they come out looking professional and crisp.
- Select a label template: If you don’t want to start from scratch select a pre-made label template. This can save you time and make it easier to get started on your design.
- Add text, imagery and other design elements: Once you have a template in place start adding text images or other graphical elements that will bring your label to life. Keep the focus of the label on what’s important and avoid adding too many elements that will make it visually overwhelming.
6) Proofing and Printing
Here are a few tips to help you when proofing and printing your labels.
- Select a printing method: There are many different printing methods available for label printing, such as digital flexography and letterpress.
- Choose the right material for the label: Choose the right material for the label that will work best with the printing method you have selected. Paper labels are great for bottom-shelf products in a dry environment while plastic labels may be necessary if your product is exposed to moisture. Make sure the material you choose is compatible with the label’s printing method and adhesive.
- Check for accuracy: Carefully check your label design and proofing options before committing to print. Make sure all information on the label is accurate readable and relevant, including product descriptions, logos, ingredients, directions, contact details etc.
FAQs – Labels Printing Process
What software or tools can I use to design my labels?
Many software options are available for designing labels. Adobe Illustrator is a popular choice as it offers the ability to create custom vector graphics for labels. Other options include GIMP Ink scape and various online label design tools.
What is the best way to proof my labels before printing?
It is always important to proof your labels before committing to print. Make sure all information on the label is accurate readable and relevant, including product descriptions logos ingredients, directions contact details etc.
If possible have a few people review the proofs to check for any mistakes or inaccuracies. A professional printing service can also be used to proof labels before printing.
What are some important elements to include on my label?
When designing the label of your product it’s important to include all relevant information so that consumers can make an informed decision. Here are some elements that you should include on your label:
- Brand name and logo: Brand recognition is key to helping consumers recognize your product. Including your brand name and logo on your label will help make it stand out from other products.
- Product name: Your product name should be prominently displayed on the label to make sure that customers can easily identify it.
- Ingredients: Listing all ingredients used in your product is an important requirement for labeling. Be sure to list all ingredients and include any potential allergens.
How do I choose the right colors for my label design?
Choosing the right colors for your label design requires careful consideration. The colors you choose should reflect your brand and stand out from your competitors.
Here are a few tips to help you choose the right colors:
- Identify your target audience: Knowing who your customer is will help you to choose colors that will appeal to them.
- Understand color psychology: Different colors evoke different emotions so be sure to research the psychology of colors before making a decision.
- Consider your brand identity: Look at what other businesses in the same industry are using and consider how your color choices could differentiate you from the competition.
- Choose high-contrast colors: High-contrast colors will make your label design stand out more so think about the color combinations that would create the most impact.
- Test your colors on various substrates: Testing your color choices on different substrates and finishes will help you determine if your design looks good in the real world.
Final Words
Start by defining your brand’s visual identity then choose a label size and shape that fits your product. Decide on the information to include such as brand name product name ingredients and any necessary warnings or instructions.
Use a professional graphic design tool or hire a designer to create a visually appealing label that accurately represents your brand. Remember to consider the printing process and materials for durability and longevity.
Have fun and be creative in the design process but always prioritize clarity and readability.